

I decided to paint a magnetic chalkboard in my son's playroom. So far he has only used the magnets. We have carpet in the playroom. When he starts using the chalkboard, I will probably need to come up with a solution to protect the carpet.
Here is what you will need to paint a magnetic chalkboard to your wall.
Supplies:
- Level, yardstick, and painter’s tape.
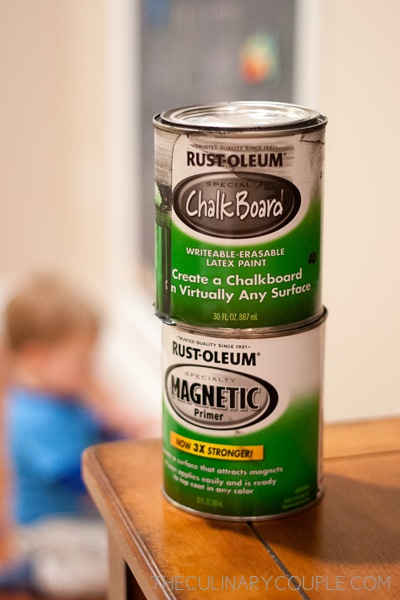
- Magnetic primer and chalkboard paint (Rust-Oleum brand).
- Small paint roller with two 1/4-inch nap brushes (buy them at the dollar store, so you can throw it way after using it).
- Drop cloth to cover the floor before painting.
- Paint stirrer for drill (This is a must! If you don't use this you might get bad results for the magnetic portion).
- White chalk, a soft cloth, and an eraser to prep your board before use (I used sidewalk chalk for this step)
- Jumbo triangular chalk sticks (Melissa & Doug brand)
- Magnetic numbers and letters and animals (Melissa & Doug brand)
- First, use a yardstick to sketch the space you plan to paint. Then use the painter's tape to frame your area in and the level to check if the lines are even.
- Before painting the area use a drop cloth to protect the floor. I used the magnetic primer and chalkboard paint from the Rust-Oleum brand. The magnet primer is very thick and needs to be well mixed to ensure great results. I used a stirrer with a drill to mix the paint really well.
- I recommend buying the paint rollers and brushes from the dollar store because you really don't want to wash these brushes with magnetic paint.
- Paint two to three coats of the magnetic primer, allowing 30 minutes to dry between each coat. Two hours later, paint the first coat of chalkboard paint. Wait two hours before adding the second coat. Allow 24 hours to dry completely.
- After you are happy with the results, you can now frame it. I bought some frame at Home Depot and then used white glossy spray paint to paint the pieces.
No comments:
Post a Comment